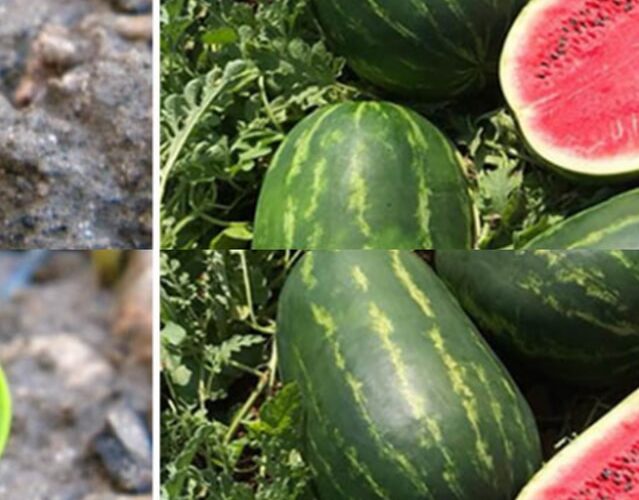

Summer is approaching and it is becoming more and more necessary that we start savoring a delicious fruit that quenches our heat and our thirst. In the varied amount that exists, watermelon is one of the most essential to get that juice that will help you beat the heat.
It is common to think that this type of fruit can only be obtained through the greengrocer’s, or perhaps with the luck of having a large green space to grow it.
Well, now we will teach you that it is not essential to have a lot of land to have beautiful watermelons. From home cultivation in small terrariums from its seeds, we will obtain this delicious fruit.

We grow watermelons from the comfort of our own home
This first part of the cultivation process can be done inside your home and with few elements that will make watermelon a beautiful plant of the future.
Items needed:
- Leaf
- Paper towels
- waterfall
- 2 glasses or saucepans
- topsoil
- Watermelon seeds
The step by step:
- Place a sheet of aluminum foil on the table.
- On the foil, place a paper towel
- On top of this napkin we have to put the watermelon seeds, quite far from each other, and on top of the whole napkin
- In this step you have to place another napkin on top of the seeds. It’s like making a sandwich with napkins and seeds.
- Now you will proceed to pulverize or, failing that, to pour three tablespoons of water on the napkin, wetting the paper well in contact with the seeds.
- Once this action is finished, you will wrap everything very well with aluminum foil.
- Put your preparation in a warm place, and day by day for the next five days you should open it and check that the napkins are still wet.
- After five days, you’ll notice that the seeds have begun to germinate.
- When you notice that the root of your seeds is just over 1 cm long, it’s time to move on to the second step.
- In this second step, you will have to pierce the two plastic cups or jars and put a little soil inside each one.
- Using a toothpick, you’ll poke holes in each of the containers to house the seeds.
- Keep in mind that each hole should be deep enough for the entire root of each seed to go in.
- It’s time to place the seeds with their roots inside each hole.
- Once this action has been carried out, the glass will be covered again with topsoil until one cm is complete.
- Be careful that the soil you place and cover the seeds must be previously wet.
- Now you will leave your glasses or pans near a window, or where they receive a lot of light, but not direct sun.
- Let this process take place for fifteen days and you will see that the very green shoots begin to appear.
- It’s time to transplant your watermelons somewhere in your garden, or just a larger pot.
- Watermelon plants don’t require a lot of depth, they need moisture and clarity. A year after transplanting, you will be able to observe the appearance of your first fruits.
Other care needed to plant watermelon
- An average watermelon takes about 75 to 95 days to ripen.
- The soil for watermelons should be fertile.
- The best temperature to germinate watermelon seeds is between 70º and 90º F.
- The best option is drip irrigation.
- Watermelon is harvested when a thud is made when hitting
- It always occurs between April and May.
- The leaves should not be wet as they tend to deteriorate.