
Beautiful, fragrant and fascinating, orchids are becoming more and more common in our interiors. Although there are many species and varieties, the most popular plant is the phalaenopsis orchid or “butterfly orchid”. Unique with its colourful flowers, incomparable shape and delicate scent, it has very specific needs, particularly in terms of watering, light, temperature and compost. However, sometimes, despite all the care lavished on it, its roots can deteriorate, its leaves fall off and its flowers wither.
Does the idea of seeing its petals fall day after day scare you? Maybe your orchid is not getting enough water. You should know that irrigation is a parameter that should not be neglected to keep this plant alive. Depending on the seasons and the change in temperature, it is important to know how to dose the water supply. In fact, it is enough to make certain watering errors for the roots to be damaged or rotted. Unfortunately, over time, if not properly cared for, the plant can die.
Fortunately, there are several powerful solutions to save an orchid that is about to die, including the famous sponge trick that we are going to reveal to you in this article.
Let’s see together how to save a dried orchid with practical and quick tips.
The sponge trick to save the orchid
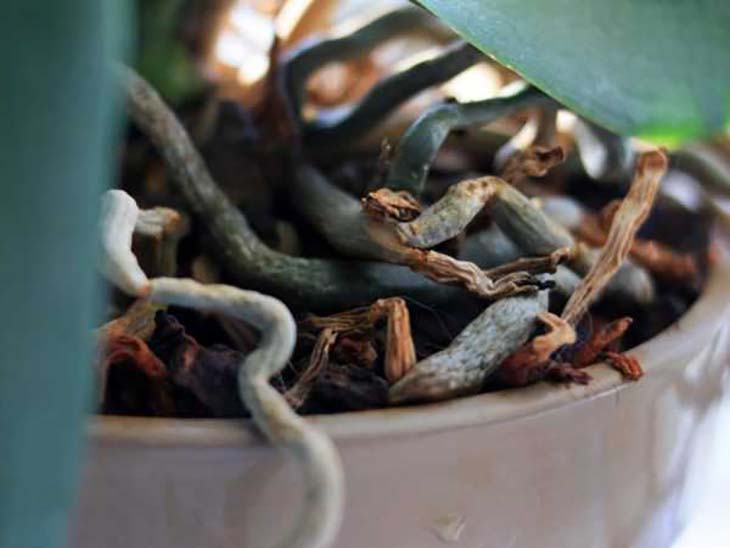
Do your plant’s roots look dry or rotten? To understand these problems, you should try to determine where the origin of the problem comes from and intervene as quickly as possible to try to save the orchid. If you don’t act quickly, it may be too late! Remember that the longer you delay things, the less chance the plant will have of surviving.
- prune the roots
The verdict is clear: your orchid’s roots are really suffering. Therefore, you must immediately remove the plant from the pot. Then prune the rotten or dry roots with sterilized scissors. During this operation, remember to remove only the roots that look completely dry or rotten, leaving all the others intact.
- put a sponge
At this point, you have removed the “diseased” part of the plant, but your orchid certainly cannot survive without roots! Therefore, you should give it a second wind by allowing it to take root again. For this, the sponge solution arrives at the right time!
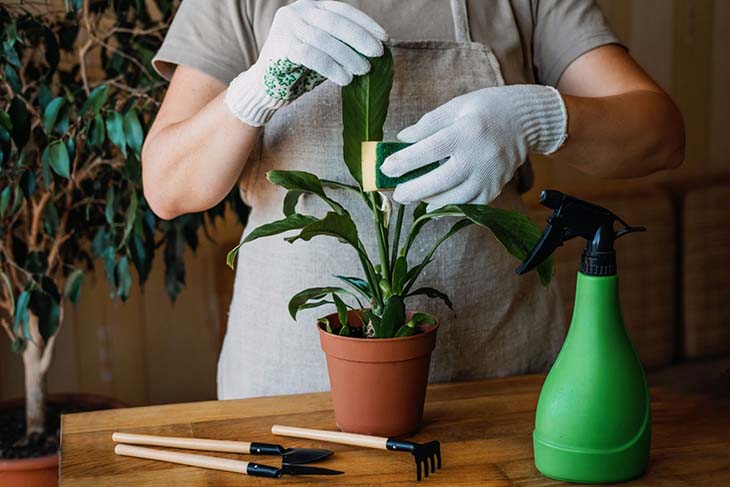
Take a dish sponge and tie it around the base of your orchid. Then put the whole thing in a glass filled with just one finger of water. This way, the sponge will act as a natural habitat for the orchid to produce new roots.
- Transplant the plant
After 2 or 3 weeks, you will be relieved to see that the roots have developed. Now is the time to transplant the plant into a suitable pot and soil. Begin watering sparingly, keeping the soil always moist but never completely wet. Precisely , to maintain the humidity level and promote the growth of the orchid, do not forget to spray a little water on the leaves every 3 or 4 days.
- Precautions
To expect promising results, know that the sponge trick is much more favorable during the warm months. If you apply it in autumn or winter, the chances of success will be much lower. Also remember to place your orchid in a sufficiently bright place, without direct exposure to the sun.
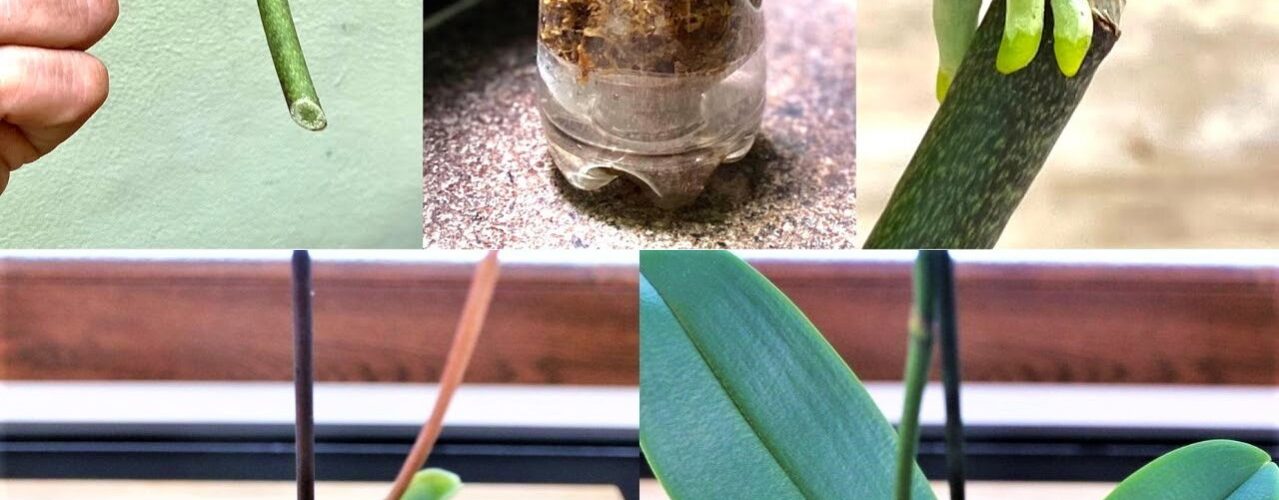
Rooting with peat and sand.
Here is a more traditional alternative method that will allow your orchid to generate new roots. This involves rooting it in a pot with peat and sand.
Instructions for use: Remove all wilted flowers. After a few days, prune away any rotten or dry roots before rooting the seedling. In addition to peat and sand, sphagnum is also widely used, which creates a perfect substrate for the production of new roots. To wait for new growth, arm yourself with a lot of patience. It takes two to three months for your orchid to bloom again!
The best way to keep your orchid alive is, of course, to avoid damaging its roots.
Here are some important parameters to consider:
- Regular watering
Since this is a plant of tropical origin, watering is vital for orchids. When you notice that they have wilted, turned yellow or even blackened, it means that they have not been watered correctly. Either too much or not enough. It is important to find the right balance between too much water and soil that is too dry!
In spring and summer, water your orchid more frequently – the secret is to test the soil and add water when it is too dry or no longer moist. The best watering method is to soak the seedlings in a bowl or sink of water and let them soak for 15 to 20 minutes. This allows the orchid to absorb only the amount of water it really needs.
NB : Overwatering can also be fatal for your orchid. You just have to look closely at the roots to measure the need for water. If you find that they are turning gray, then you need to water more. Otherwise, abundant watering is useful only once a week.

- clear vase
Remember to always use a clear or transparent vase for your orchid, so you can always check the condition of its roots. The latter, if they come into direct contact with light, become stronger and healthier. So choose a plastic pot that allows the sun’s rays to pass through: the roots will dry out faster and will be less fragile.
- right place
For the well-being of your orchid, choose a place where there is plenty of light, but without direct exposure to the sun. The ambient humidity should not be less than 60%. Ideally, we recommend a location in the bathroom or kitchen where humidity is generally higher.
- Fertilizer
Keep in mind that there are specific fertilizers for orchids. Because, sometimes, a certain alternation in minerals is needed: during leaf growth, a nitrogen fertilizer would be more judicious, while during flowering, a compost richer in potassium is preferred.
By taking all these precautions to the letter and being perfectly attentive to the growth of your orchids, you will no longer have to worry. They will continue to sublimate your interior while remaining fresh and radiant with beauty!