In this article, you’ll learn how to build an economical and efficient alternative to traditional mosquito nets using mesh, small magnets, and buttons. A proposal that you can’t miss!
This method is easy to implement and can be adapted to different types of windows. Let’s follow each step and solve this problem with a clever trick!
Materials Needed
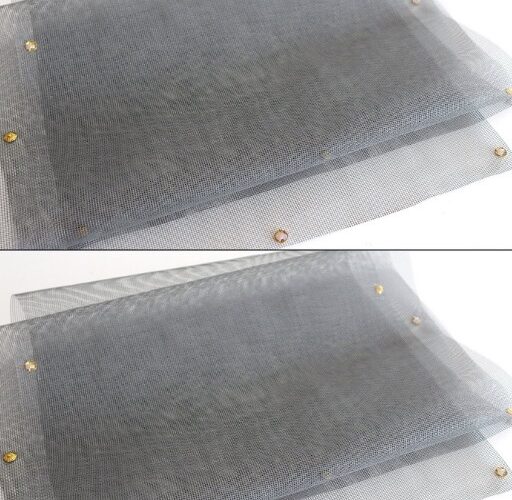
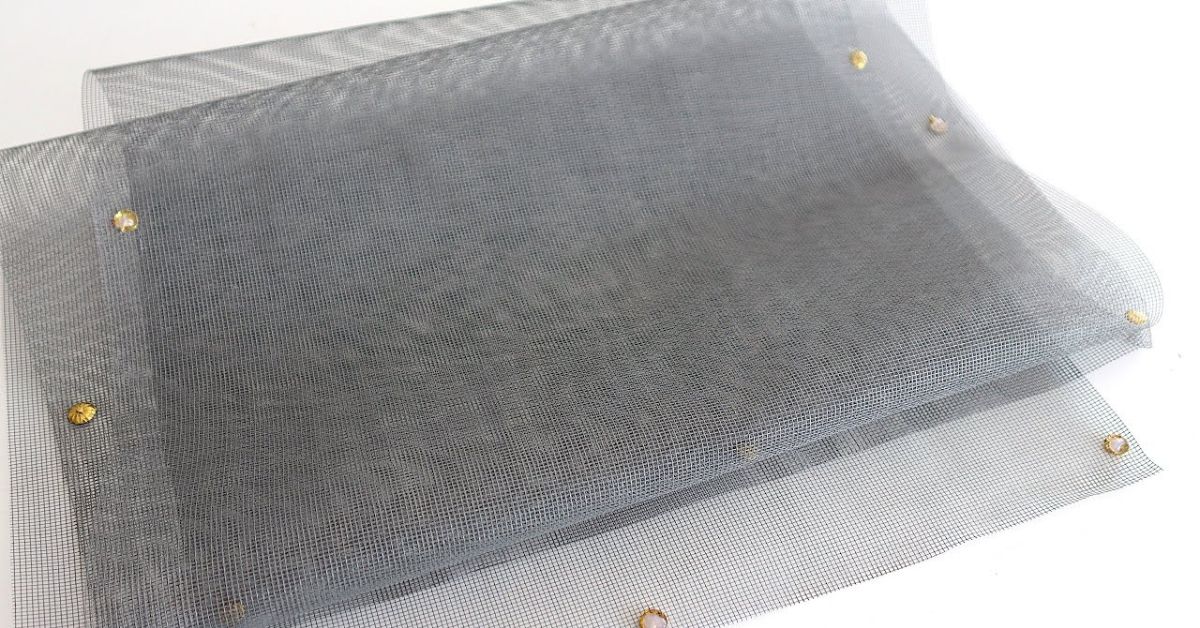
- Mesh of adequate size for the window
- Small magnets
- Buttons (preferably with a long stem)
- Double-sided glue
- Scissors and pliers
- Hot glue gun
Step-by-step instructions
- Prepare the window:
- Clean the window frame to ensure good adhesion of magnets and buttons.
- Attach the magnets:
- Use double-sided tape to stick each magnet symmetrically to the window frame. This ensures that the mesh is properly aligned.
- Prepare the buttons:
- Cut the stem of the buttons to fit the thickness of the mesh. This can be done with pliers.
- Attach the mesh with buttons:
- Place the first button in the corner of the mesh using hot glue to secure its position.
- Attach this button to the corresponding magnet in the corner of the frame.
- Adjust and complete:
- Line up the mesh over the window and mark where you’ll place the other buttons.
- Attach each button with hot glue and adhere them to the magnets, ensuring that the mesh is taut but without deformations.
Additional tips:
- Opt for sturdy leggings: Choose durable materials to ensure long-term effectiveness.
- Try different button sizes: Some larger or differently shaped buttons can improve the hold.
- Use coordinated colors: If you want a more aesthetic finish, select buttons and magnets that match your window frame.
Benefits of this solution:
- Economic savings: Lower cost compared to commercial mosquito nets.
- Versatility: Easy to adjust or remove when needed.
- Sustainability: Reduce waste by reusing materials such as buttons and mesh.
I hope this practical method is useful for you to protect your home from mosquitoes without overspending. Dare to try it and customize it according to your needs!