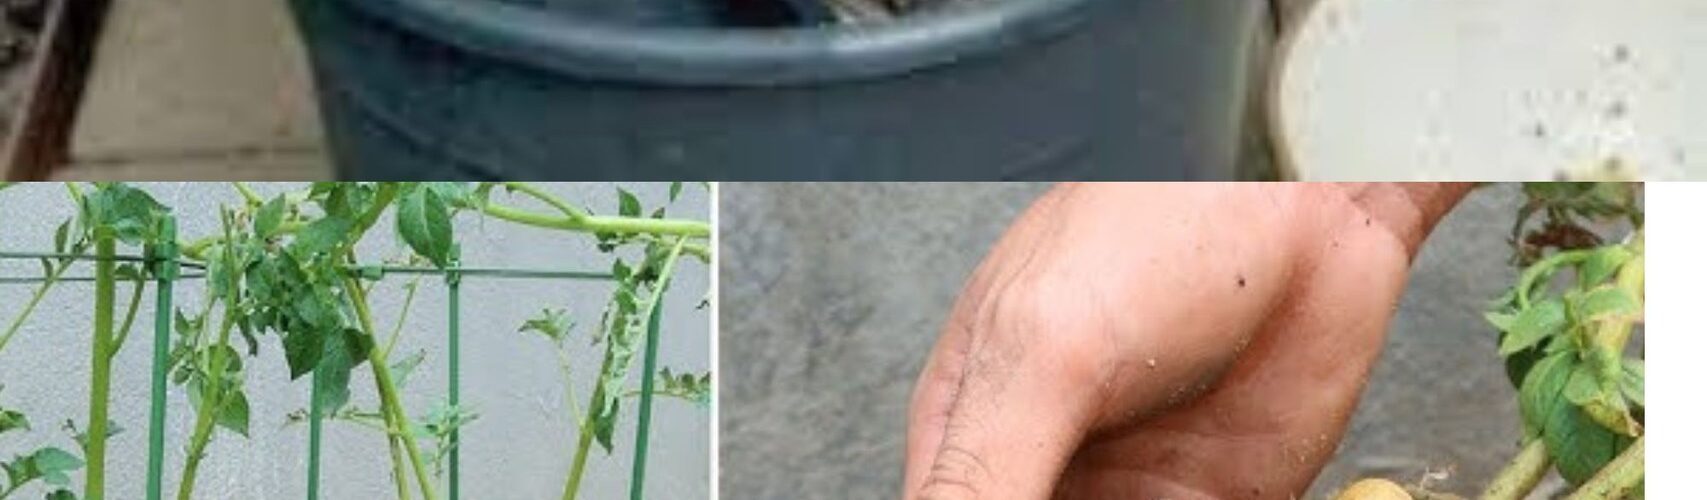
Materials Needed:
- One potato (preferably organic)
- A sharp knife
- Toothpicks
- A glass or container
- Potting soil
- A larger container (such as a grow bag or large pot)
- Sunlight
Step 1: Choosing the Right Potato
Select a healthy, organic potato to get started.
Step 2: Cutting the Potato into Slices
Cut the potato into slices, making sure each slice has at least one eye or sprout. Let the slices sit for a day or two to form a protective layer.
Step 3: Preparing the Water Setup
Fill a glass with water, leaving about an inch above the water level. Place toothpicks around the circumference of each potato slice and submerge them in the water with the bottom hanging.
Step 4: Soaking Potato Slices
Gently place the potato slices in the water with the bottoms submerged. Avoid letting the entire slice touch the water to prevent rot.
Step 5: Maintaining and Monitoring Growth
Place the glass in a sunny spot, such as a windowsill, and change the water every few days. After a few weeks, you will see sprouts and roots.
Step 6: Transplanting into Pots
Once the sprouts are about 2-4 inches long and have strong roots, transplant the potato slices into a larger container with well-draining potting soil. Plant the slices with the sprouts facing up and the roots facing down, covering them with soil.
Step 7: Care and Maintenance
Place the pot in a spot with at least 6-8 hours of direct sunlight per day. Water regularly, keeping the soil moist but not soggy. Use a balanced fertilizer according to the package directions.
Step 8: Harvesting Potatoes
After a few months, the plants will flower and the potatoes will be ready to harvest. Dig around the base of the plant to harvest your homegrown potatoes.
Growing potatoes from a single potato is a rewarding process that can be adapted to both small and large spaces. Happy gardening and enjoy your fresh homegrown potatoes!