Gardening without a garden… Simply using a container is not just for people who have little space, as is the case in the city. It can also be useful when you want to have more output, thanks to a more easily controllable environment.
Growing potatoes in a barrel has several advantages: it reduces the amount of weeding, decreases exposure to pests and fungi.
Plus, you don’t risk damaging the potatoes by digging up the soil with a shovel to harvest them.
For what ? Because you just have to flip the barrel! After doing extensive research on growing my own potatoes in a barrel,
here are my tips. It only takes 4 steps to successfully harvest your crop:
1. Choose and prepare a container
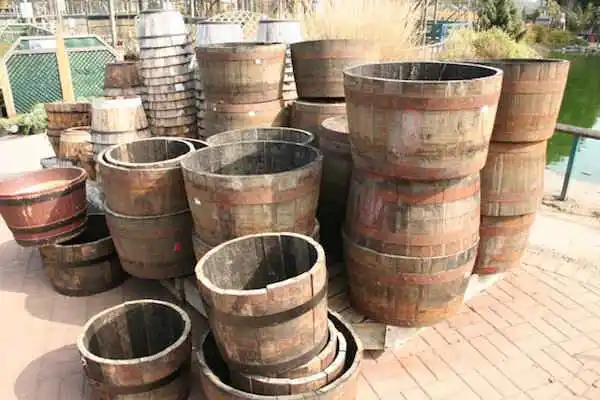
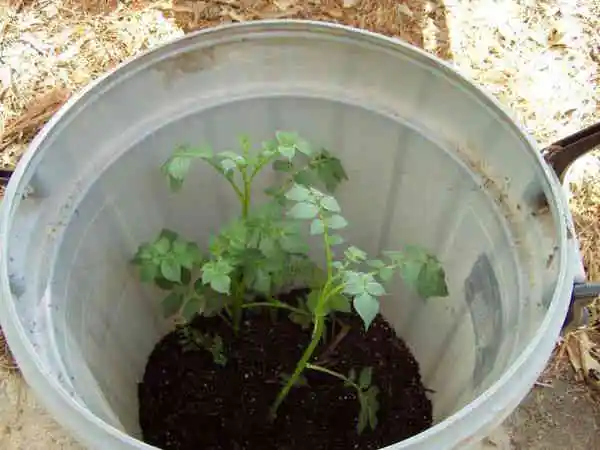
You’ll want to choose a container like a 50 gallon garbage can or one of those half barrels in the photo. Another alternative is to use any container with this type of volume.
The only condition is that the container already has holes in it or that you can pierce it. Next, you will need to clean the container with a bleach solution to remove any dirt left inside.
For those who don’t want to use bleach (like me, for example!), I recommend instead using a natural alternative to bleach like this one. Good drainage is essential to keeping potatoes healthy.
This is why you will need to drill a series of large holes in the bottom sides and bottom of your container.
Another solution is to cut off the bottom of the container completely and place the container on a well-drained surface, such as garden soil.
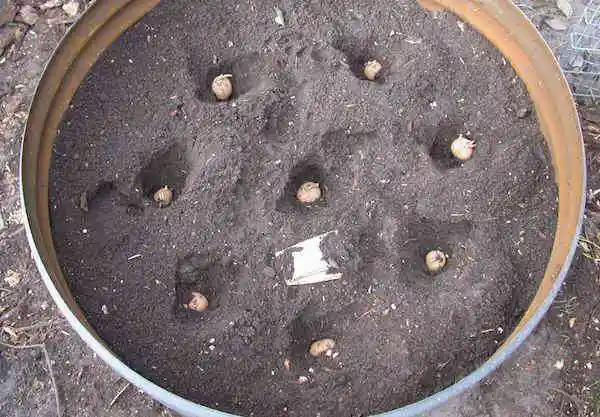
2. Choose a variety and plant potatoes
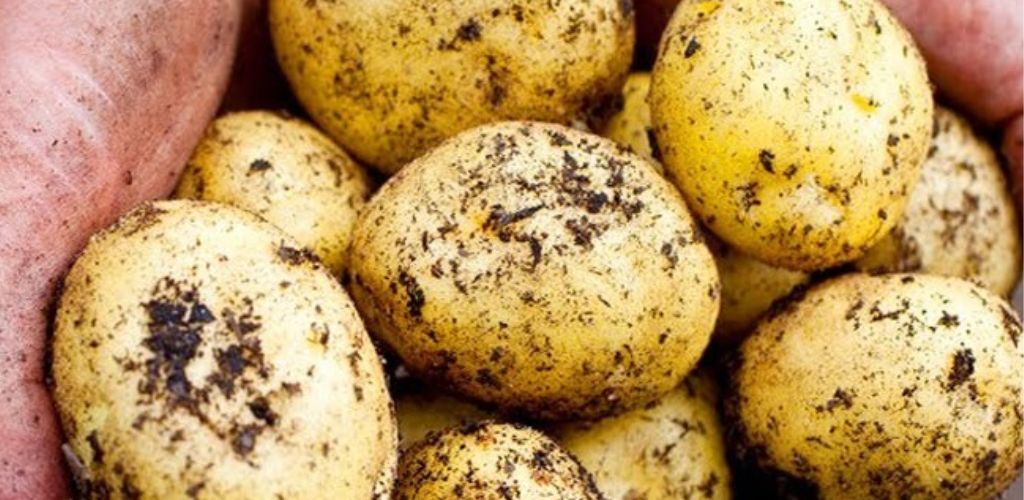
You can find seed potatoes in nurseries or on the Internet, on specialized sites.
To get started quickly: Potato plants need to be sprouted. You can purchase pre-germinated seedlings or germinate the seedlings yourself. As ?
The trick is to place them in an egg carton, with the side with the most gems facing up. Then, place the box in a temperate, bright room. Another solution is to place the tubers in an open paper bag.
Now fill the bottom of your container with about 15 cm of a mixture of soil, which you will find in your usual gardening shop, and compost (or manure).
If you find it, it is best to use a potting mix containing coconut fibers so that the soil is not too compact and can store enough moisture for the roots. But in any case, know that potatoes adapt to any type of soil.
Then, add some seed potatoes to this first layer of soil, spacing them well apart. Cover the plants with a second 6-inch layer of your potting soil and compost mixture.
Be careful not to compact the soil so that everything can breathe well. Add water to moisten the soil. And above all, remember to always keep the soil moist, but without watering too much so as not to drown the plants.
3. Add more soil
When the potato plants have between 6 and 8 inches of foliage, add a third layer of your potting soil and compost mix to cover 3/4 of the stems and visible foliage.
Repeat this step, letting the stems grow towards the top of the stem, then covering them with soil as soon as they exceed 15cm in height.
At the same time, do not forget to moisten the earth well while growing seed potatoes.
4. Harvest potatoes
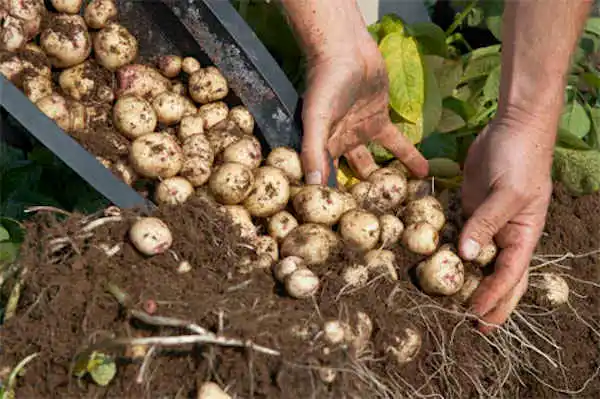
After about 10 weeks, when the plant’s foliage begins to yellow, the potatoes should be ready to harvest. Carefully dig the soil with your hands in the barrel to check whether the top layer is like this.
If you find that the potatoes are indeed ripe, empty the barrel onto a tarp to reveal the spoils.
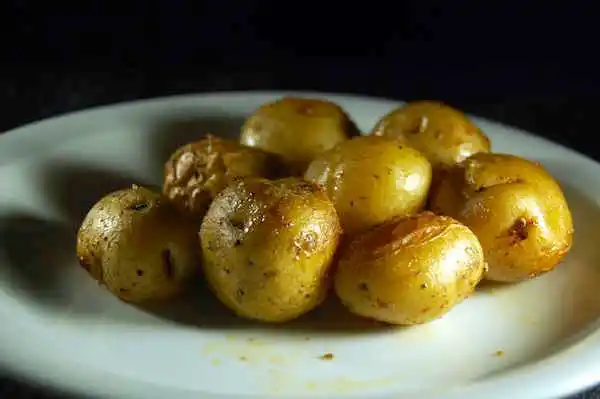
After your first harvest, remember to save some potatoes to use as plants the following year. That’s it, you can taste your good big potatoes that you grew yourself.